Applying adhesive correctly is an important step in any project. Here are some tips on how to apply adhesive correctly:
- Start by cleaning the surfaces to be bonded with a damp cloth or rubbing alcohol to remove any dirt, oils, or debris.
- Apply the adhesive to one of the surfaces, using an applicator, a brush, or even a spatula. Make sure to spread the adhesive in an even coat.
- Allow the adhesive to dry. Different adhesives have different drying times, so read the label on the adhesive container before proceeding.
- Once the adhesive has dried, press the two surfaces together firmly for about a minute.
- Leave the surfaces to cure undisturbed for the amount of time recommended on the adhesive container. This curing time is important, as it allows the adhesive to reach its fullest strength. Following these steps will help ensure that your adhesive is applied correctly and that your project has the strongest bond possible.
How to cut adhesive vinyl
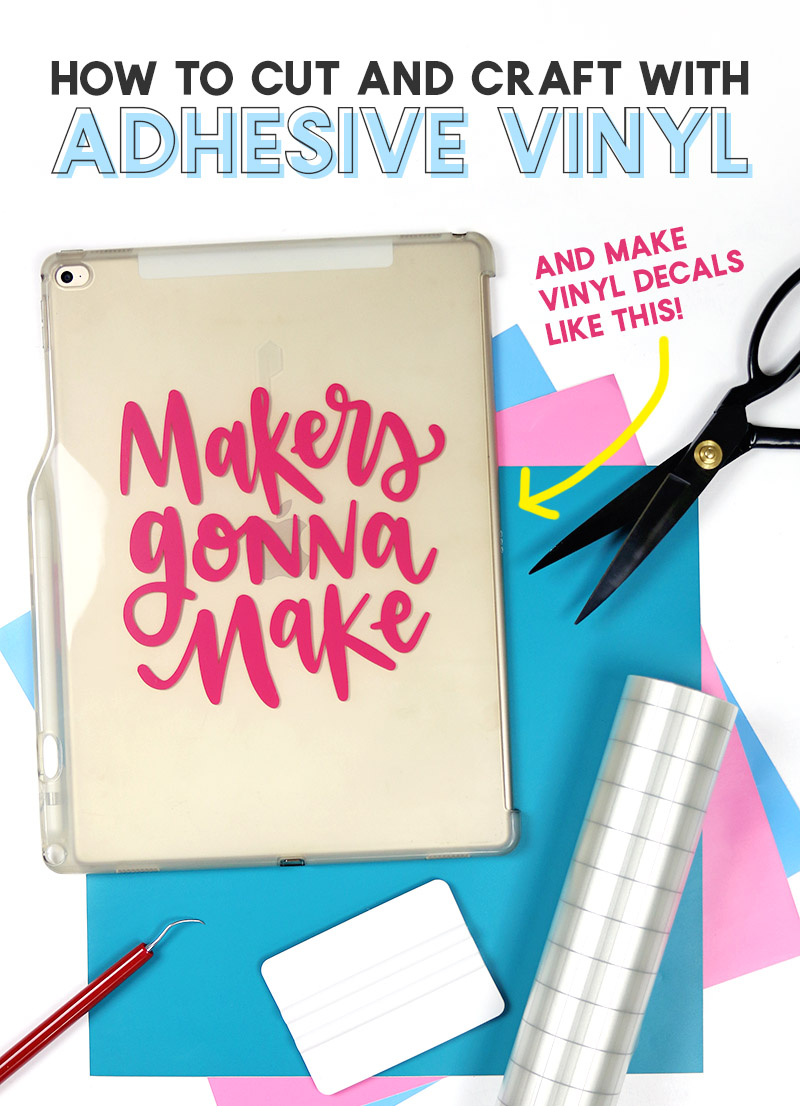
Whether you are creating a wall graphic or a car decal, it is important to know how to properly apply adhesive vinyl. Here is a guide to help you cut adhesive vinyl correctly. First, gather all the necessary tools, such as a cutting mat, a sharp craft knife, and the adhesive vinyl. Place the adhesive vinyl on the cutting mat. Make sure the vinyl is firmly pressed to the surface of the cutting mat.
Next, use the craft knife to carefully cut along the desired shape of the adhesive vinyl. You may need to use a ruler or straight edge to guide the blade for perfectly straight lines. Use caution when cutting, as the blade is sharp and can easily cause injury. Once the desired shape is cut out of the adhesive vinyl, you can then carefully peel away the excess vinyl around the shape. The adhesive vinyl should now be ready to be applied to whatever surface you desire. Finally, ensure that the surface is clean and completely dry before applying the adhesive vinyl. Take your time when applying the adhesive vinyl, as any wrinkles can ruin the overall look. Once the adhesive is completely pressed into place, enjoy your new creative project!
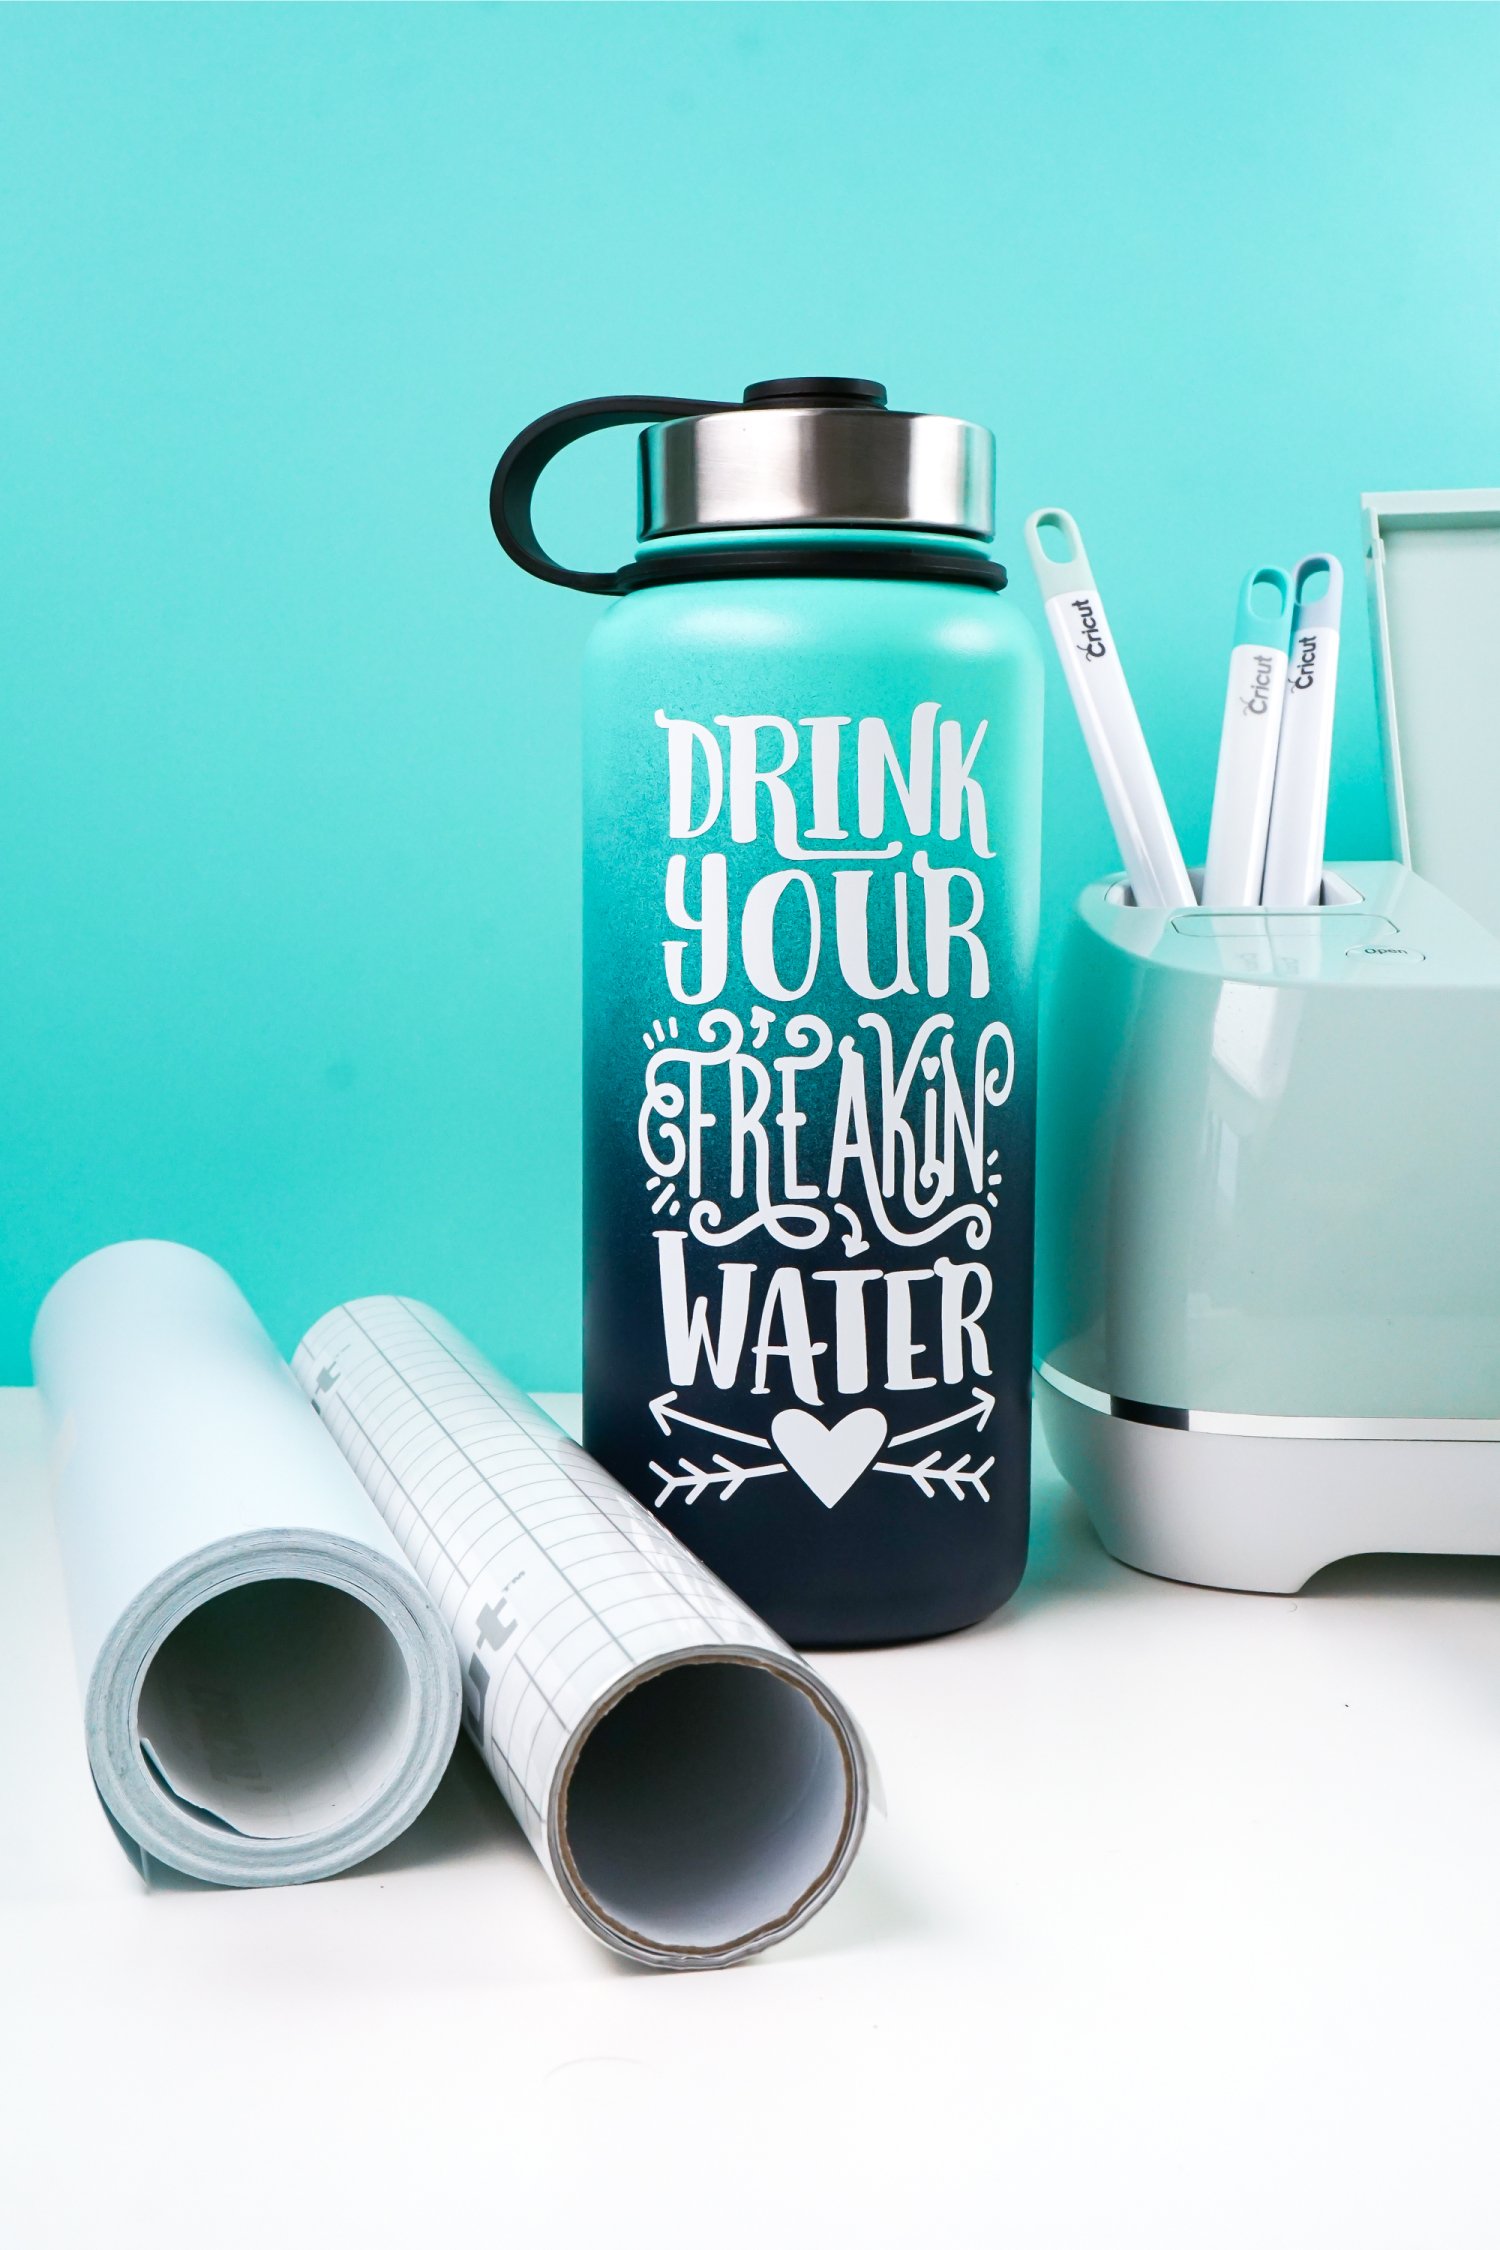
Can you cut self adhesive vinyl?
To start, you will need to have the vinyl, a cutting surface, a sharp craft knife, a squeegee, and a measuring tool. Begin by measuring and cutting the vinyl to the desired size and shape. Make sure to use a sharp craft knife on a suitable cutting surface to ensure a clean cut. Once the vinyl is cut to size, you can use a squeegee to help adhere the vinyl to the surface. Gently press the vinyl onto the surface ensuring that there are no air bubbles, and that the vinyl sticks securely to the surface.
If you need to, you can use a few pieces of painter’s tape to hold the vinyl firmly in place as you press it down. When applying adhesive to the surface, use a roller or brush to spread it evenly as needed. Be sure to apply the adhesive directly to the surface that the vinyl will be stuck to. Once the adhesive is dry, you can then peel off the backing of the vinyl and stick it to the surface. Using self adhesive vinyl is a great way to add decoration to your home without any permanent damage. With the right tools and materials, you can easily cut and apply self adhesive vinyl to almost any surface.
What do you cut adhesive vinyl on?
When applying adhesive vinyl, it’s important to make sure that you have the right tools and materials for the job. The first thing you need to do when it comes to applying adhesive vinyl is to make sure that you have a cutting surface that is smooth, flat, and clean. A great choice for this is a self-healing cutting mat, as it provides a safe and effective surface for cutting adhesive vinyl. Once you have your cutting surface ready, you can then begin to cut your adhesive vinyl. Make sure to use a sharp blade, as this will make it easier to accurately cut the vinyl.
It’s also important to use a slow and steady hand, as this will help ensure a clean cut. Once the adhesive vinyl is cut, you can then begin to apply it. Make sure to use an application tool such as a squeegee to help ensure that the vinyl adheres properly. It’s also important to use a clean cloth to help remove any excess adhesive and ensure that the vinyl sticks to the surface. By following these steps for applying adhesive vinyl, you can easily create professional-looking projects. With the right tools and materials, you can easily transform any surface with adhesive vinyl.
What blade do I use for adhesive vinyl?
Applying adhesive vinyl requires a sharp blade. It is important to use the right kind of blade as this will affect the quality of your application. For adhesive vinyl, you should use a new, sharp craft knife blade or a snap-off blade. A snap-off blade has multiple sections, which you can sharpen by snapping off the used section. This allows you to have a fresh edge whenever you need it.
When using the blade, be sure to hold it at a shallow angle. This will allow you to get a nice, clean cut without damaging the vinyl. Also, make sure you keep the blade away from your hands as it can be dangerous. When you are done using the blade, always store it in a safe place. This will ensure that it is always in good condition, and will not cause any harm if it is handled. Applying adhesive vinyl can be tricky, but with the right blade and technique, you can get a great result. Just remember to take care when handling the blade and be sure to store it safely when you are done.
Do you cut adhesive vinyl shiny side up?
How to apply adhesive vinyl can be a tricky process. One important question to consider is whether to cut adhesive vinyl shiny side up. This determines the way in which vinyl will look when applied. Generally, it is best to cut adhesive vinyl shiny side up. This will ensure that when the vinyl is applied, the shiny side will face outwards, creating a smooth and glossy finish.
It is also important to remember to leave a small gap around the edges of the vinyl when cutting. This will prevent any overlapping of the vinyl when it is applied and make it easier to achieve a neat finish. Once the adhesive vinyl is cut to the desired shape and size, it is ready to be applied.Make sure the surface where the adhesive vinyl is to be applied is clean and dry. Any dirt or residue will affect how well the adhesive will stick. The adhesive vinyl should then be pressed firmly onto the surface. Make sure to apply pressure evenly to ensure the vinyl is sticking correctly. Once applied, the vinyl can be removed and re-positioned within a few minutes, but it is important to avoid doing this too often as it can degrade the adhesive. In conclusion, cutting the adhesive vinyl shiny side up is the best approach when applying adhesive. Doing this will ensure that the vinyl has a glossy finish and is easier to apply correctly.
What side do you cut on adhesive vinyl?
Applying adhesive to a surface can be tricky. One of the most important steps is to make sure you know which side of the adhesive vinyl you should be cutting on. The side with the adhesive is the side which needs to be cut on. This is the side with the sticky layer that will attach to the surface you are applying it to. The other side is the side that needs to be removed before you apply the adhesive.
To make sure you are cutting on the right side, make sure you look at the backing of the adhesive. It will have a glossy side and a matte side. The glossy side is the side with the adhesive. The matte side is the side you will want to cut your vinyl on. Once you have cut your vinyl, carefully peel off the matte side, making sure the adhesive side is facing down. Then carefully place the adhesive onto the surface you are adhering it to. Use a squeegee or a piece of card to ensure there are no bubbles or imperfections in the application. With a little patience and attention to detail, you can be sure you are applying your adhesive vinyl correctly. Be sure to take your time and get it right, as this will help you have the best results!
Do you mirror cut adhesive vinyl?
Adhesive vinyl can be applied to many surfaces like wood, walls, and other materials. Applying adhesive vinyl is easy and doesn’t require a lot of tools. One way to apply adhesive vinyl is to use a “mirror cut”. This means that instead of applying the adhesive vinyl directly to the surface, you will cut it out on a backing material first, then apply it to the surface with the backing material still attached. This makes it easier to place the adhesive vinyl in the exact shape and size you need.
To do this, you’ll need to place the adhesive vinyl onto a backing material. Make sure it is cut out to the size and shape that you desire. Once the adhesive vinyl is completely cut out, you can use a squeegee or a flat object to press the adhesive vinyl onto the backing material. Once the adhesive vinyl is firmly attached to the backing material, you can peel off the backing material and apply the adhesive vinyl directly onto the surface. Make sure to press firmly and use a squeegee or a flat object to ensure that the adhesive vinyl adheres properly. By mirror cutting the adhesive vinyl, you can ensure that the adhesive vinyl is properly cut out and applied to the surface quickly and accurately. This will make your adhesive application process easier and will guarantee that the adhesive vinyl looks perfect every time.
Can you cut adhesive vinyl with scissors?
Adhesive vinyl can be a great way to personalize any project. Applying adhesive vinyl can be done in a few simple steps. One of the first steps is to decide what type of adhesive vinyl you will be using. If you are using a permanent adhesive vinyl, you can then cut it with scissors. Make sure to keep the scissors sharp so that you get a clean cut.
Once you have the desired shape cut out, you will need to put the adhesive vinyl on the surface area that you have chosen. Make sure that you remove any dust and debris from the area before applying the adhesive vinyl. When it comes to applying the adhesive vinyl, you can use either a squeegee or a credit card to firmly press down on the vinyl and get rid of any air bubbles. Make sure to press along the edges of the vinyl to ensure that it is securely adhered to the surface. Once the adhesive vinyl is applied, it can last for many years with proper care. To clean the adhesive vinyl, you should use a mild detergent and warm water and then dry it with a clean cloth.
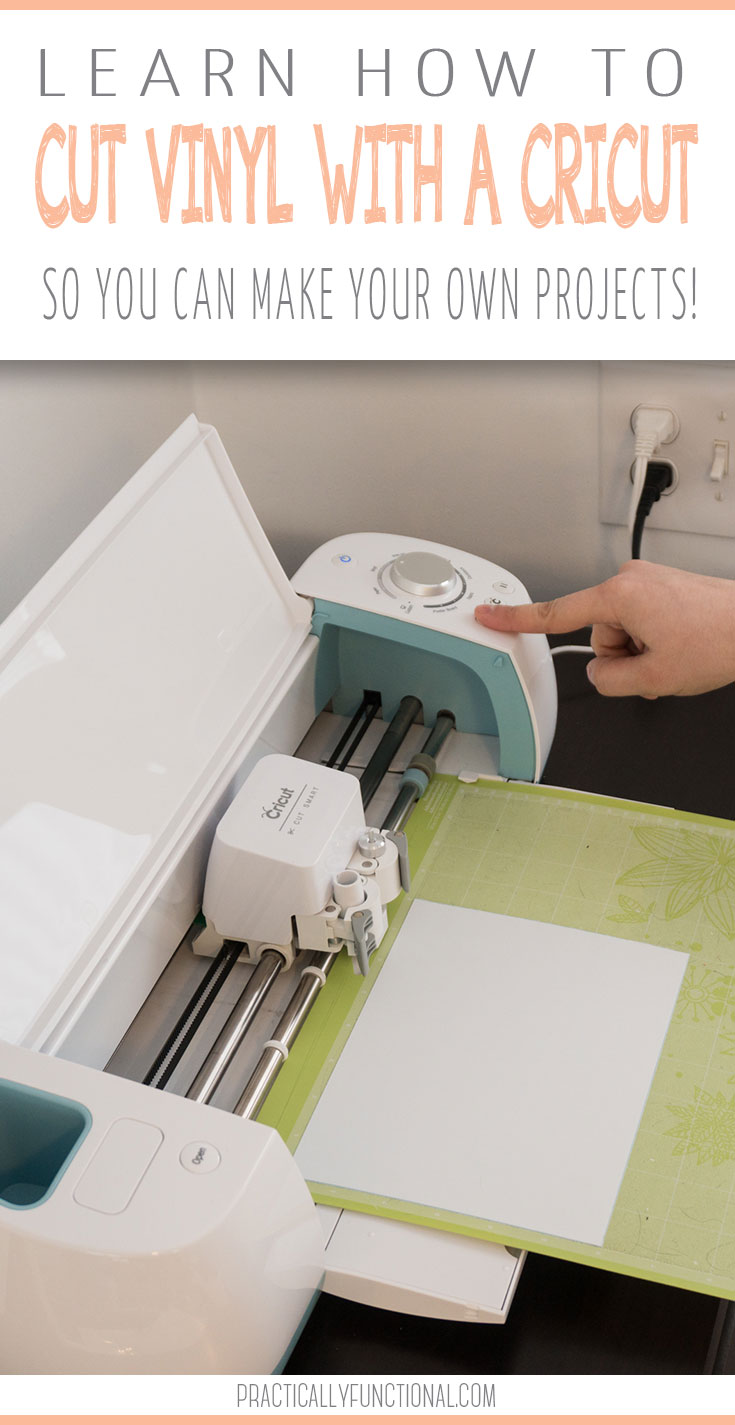
What setting do I cut adhesive vinyl on my Cricut?
First, make sure that the surface you are applying it to is clean and free of dust or debris. Next, select the material setting for adhesive vinyl on your Cricut machine. This setting will adjust the speed and pressure of the machine to ensure that the vinyl is cut properly. Once the setting is selected, load the vinyl onto the mat. You may need to use a transfer tape to help hold the vinyl in place while you cut it. Finally, send the design to the Cricut and let the machine cut the vinyl. Once the vinyl is cut, carefully peel it away from the mat and apply it to your desired surface.
How to make money with adhesive vinyl?
It’s a versatile product that can be used to create signs, banners, decals, and other graphics. Applying adhesive vinyl correctly is an important step in ensuring that your projects look great and last. Here are some tips on how to apply adhesive vinyl:
- Make sure to use a clean, smooth surface for your project. This will help the adhesive vinyl adhere better and make your project look better.
- Cut the adhesive vinyl to the desired size and shape. You can use a variety of tools, such as scissors and a utility knife, to do this.
- Peel off the backing from the adhesive vinyl and apply it to the surface. Make sure to press firmly so that the adhesive vinyl sticks and there are no air bubbles.
- When the adhesive vinyl is in place, cover it with a clear application tape. This will help protect the vinyl and make it easier to transfer.
- Finally, remove the application tape and enjoy the finished project. With a bit of practice, you should be able to easily apply adhesive vinyl for all kinds of projects and make money in the process.
How to cut vinyl using a vinyl cutter?
Adhesive can be used to create custom designs on vinyl. Applying adhesive to vinyl correctly can be done by using a vinyl cutter. To begin, you will need a vinyl cutter, vinyl, and adhesive. Make sure you have all the proper materials before beginning the project. Once the materials are ready, you can start cutting the vinyl with the vinyl cutter.
Place the vinyl on the cutting mat, set the size and shape of the design, and use the cutter to cut out the design. After the design is cut out, you will need to apply the adhesive to the back or edges of the vinyl. Spread the adhesive evenly on the desired area with a brush or sponge and let it dry. Once the adhesive is dry, you can apply the vinyl to the desired surface. When the vinyl has been applied, you can enjoy your custom design!
How to use adhesive vinyl with a Cricut?
First, prepare your surface for application by wiping down with a clean cloth or rubbing alcohol. Make sure the surface is free of dust and oils. Next, load your adhesive vinyl into your Cricut machine. Adjust the material setting to vinyl and select the load button. When your Cricut machine is ready, place your adhesive vinyl onto the cutting mat and press the start button.
Once the vinyl is cut, use the weeding tool to remove any excess vinyl before you apply the adhesive. To apply the adhesive, start at one edge and slowly press the adhesive onto the surface. Make sure to press down firmly and evenly to ensure even adhesion. Once the adhesive vinyl is in place, press down firmly with a squeegee or hard card to remove any air bubbles. If any air bubbles remain, use a needle to pop them and smooth them away with your squeegee. Finally, allow the adhesive vinyl to cure for 24 hours before using your Cricut project. This will ensure your adhesive vinyl is securely in place.
How to weed adhesive vinyl?
In order to ensure that it adheres properly and looks its best, you must take the time to properly weed it before application. Weeding adhesive vinyl involves removing the excess vinyl surrounding the design, leaving only the desired design. To do this, use an Exacto knife or a pair of scissors to cut along the outer edge of the design. Once the excess vinyl has been removed, use a weeding tool to lift away any intricate parts of the design. If you are working with a detailed design, use a pair of tweezers to remove any small pieces that the weeding tool may miss.
Make sure to take your time and be gentle so you don’t damage the design. Once all the excess vinyl has been removed, you are ready to apply the adhesive vinyl. To do this, use a transfer tape to transfer the design to its desired surface. Begin by prepping the surface with a lint free cloth, then slowly peel the backing of the vinyl away. Once the vinyl is completely peeled away, use a squeegee to press it firmly against the surface and remove any air bubbles. After the vinyl is securely adhered, slowly peel away the transfer tape. You are now ready to enjoy your newly installed adhesive vinyl design!
How to do adhesive vinyl on cricut
Make sure it’s clean and free of any oils or dirt. Once the surface is ready, cut the adhesive vinyl to the desired size, using your Cricut machine. Next, you’ll need to apply the adhesive vinyl to your project. Place the vinyl on the surface, making sure it is lined up correctly. Then, use a scraper or credit card to press the vinyl onto the surface.
Once the adhesive vinyl is applied, you can start to remove the transfer tape. Gently peel the transfer tape away from the vinyl, starting from one corner. If the vinyl does not stick to the surface, use the scraper to apply more pressure. Finally, to finish the project, rub the vinyl down with a soft cloth to make sure it is completely adhered. Now you have a beautiful project with adhesive vinyl applied!
Which side of adhesive vinyl goes down on Cricut?
When applying adhesive vinyl with a Cricut, it is important to know which side of the adhesive vinyl should be facing down. Generally, the glossy side should go down, while the dull side should go up. Make sure the adhesive vinyl is firmly in place on the cutting mat before beginning the cutting process. You may need to use your hands or a scraper to press the vinyl down, ensuring that the edges are stuck to the mat and that no air bubbles are present. After the adhesive vinyl is successfully secured, load into the Cricut and start the cutting process. Once the cutting is complete, carefully remove the excess vinyl and carefully lift the adhesive vinyl off the mat. You should now have your design, ready to be applied.
Do you mirror adhesive vinyl?
It can be used to help create a range of decorative items, from wall decals to car wraps. The process is relatively straightforward, and can be accomplished with the right materials and tools. To start, you’ll need to gather the mirror adhesive vinyl, a squeegee, and a clean surface to work on. If you’re working with a large area, it’s best to measure twice and cut once, to ensure you have the right size of vinyl for your project. When you have the exact measurements, you can begin to apply the adhesive mirror vinyl.
Start by cleaning the surface you will be using for your project. This will ensure a strong bond between the surface and the adhesive vinyl. Once the surface is dry, you can begin to peel the backing off of the adhesive vinyl. Carefully place the vinyl onto the surface with the adhesive side down. Use the squeegee to press firmly against the vinyl and ensure the surface is fully covered. This will help create a strong bond between the surface and the adhesive vinyl, and will ensure your mirror effect looks great.
Can you use any adhesive vinyl with Cricut?
Applying adhesive vinyl with a Cricut machine is easy and convenient. You will need to select the type of adhesive vinyl that best suits your project. The adhesive vinyl should be compatible with the Cricut machine, as well as with any other material you may be using. Once you’ve chosen the right adhesive vinyl, you will need to load it into the machine. Make sure the adhesive side is facing up.
Then select the setting on your machine that is specific to vinyl. Next, you’ll need to cut the vinyl into the desired shapes or designs you want. Once you have the design you want, you can then use a Cricut transfer tape to help move the design onto the surface you are applying it to. Finally, you’ll need to apply pressure to the adhesive vinyl in order to make sure that it is securely attached to the surface. Use a squeegee or a credit card to apply even pressure across the surface. Be sure to remove any air bubbles that may form. With the right adhesive vinyl, you can use your Cricut machine to easily apply adhesive vinyl to any surface. The whole process only takes a few simple steps and the results will be professional looking and long-lasting.
What is the difference between vinyl and adhesive vinyl?
Adhesive vinyl and regular vinyl both have their uses, but they are not the same. Adhesive vinyl is a type of vinyl that is designed to stick to a surface. It is usually used for crafting projects, decorating walls, and making signs. Regular vinyl is not designed to stick to surfaces, but instead is often used for clothing, seasonal decorations, and crafting projects. When applying adhesive vinyl, it is important to make sure that the surface is clean and free of dirt or dust.
Then, you can use transfer paper to create a design on the adhesive vinyl and then carefully transfer it to the surface. You should make sure to use a ruler or another straight edge to make sure that the design is lined up correctly before pressing it onto the surface. To apply regular vinyl, you need to use a heat press or an iron. Make sure that the temperature is set correctly for the vinyl and you are using a pressing cloth or another protective layer. You can then place the vinyl on the fabric, press down firmly, and then remove the protective layer. Adhesive vinyl and regular vinyl have their uses, and they should be used accordingly. Adhesive vinyl is generally easier to apply, while regular vinyl is more suitable for clothing and other projects that require heat. By understanding the differences between these two types of vinyl and how to apply them, you will be able to craft and decorate with ease!
What is adhesive vinyl called on Cricut?
It is made from a high-quality vinyl material that is easy to cut and apply. When applying adhesive vinyl with a Cricut, it is important to make sure you are using the correct Cricut setting and the correct type of adhesive vinyl. The most popular type of adhesive vinyl for Cricut is Permanent Adhesive Vinyl (PAV). This type of permanent adhesive vinyl is designed to stick to a variety of surfaces, including glass, metal, and plastic. When applying adhesive vinyl with a Cricut, it is important to make sure you are working with a clean and dry surface.
If the surface is not clean, the adhesive may not stick properly. When you are ready to apply the adhesive vinyl, you will need to make sure you have the correct type of transfer tape. Transfer tape is an adhesive material that is used to transfer the vinyl to the surface. Once the adhesive vinyl is applied to the surface, you should use a squeegee to press the vinyl down firmly. This will help ensure that the adhesive vinyl sticks to the surface and that it does not come off. Once the adhesive vinyl is firmly in place, you can then use a Cricut machine to cut the vinyl into the desired shape or design. With the help of a Cricut and some adhesive vinyl, you can create beautiful signs, decals, and labels for any project. Make sure you know the correct type of adhesive vinyl for your Cricut and how to properly apply it for best results.
Do I need to mirror adhesive vinyl?
Applying adhesive vinyl can be tricky, especially if you’re trying to achieve a symmetrical look. In that case, it may be necessary to use a mirror adhesive vinyl. Mirror adhesive vinyl works by allowing you to apply the same design on both sides of the vinyl. This creates a mirrored effect when looking at it from the sides. To apply mirror adhesive vinyl, you should first cut the design out as normal.
Once you have the design cut out, you can then affix the adhesive vinyl to the surface you’re applying it to. After that, place the mirror vinyl over the top and press firmly to ensure that it’s secured properly. It may take a few attempts to get the design perfectly symmetrical, but it can be done with patience and a steady hand. Additionally, using a squeegee to remove any air bubbles or wrinkles can help make the application process easier. Overall, mirror adhesive vinyl can be a great way to create a beautiful and symmetrical look. With some patience and practice, you can apply it easily and create stunning results.
Which side goes down on adhesive vinyl?
It’s important to know which side of the vinyl should go down when applying it. The adhesive side is typically covered with a thin paper liner which should be peeled off before application. This liner protects the adhesive side and should be removed to ensure the vinyl sticks to a surface properly. When applying the vinyl, the adhesive side should face down and the vinyl graphic should face up. This will ensure that the graphic is visible when the adhesive vinyl is applied to a surface.
When applying adhesive vinyl, pressure should be applied to the entire surface and any air bubbles should be removed. A squeegee or a roller can be used to press down the vinyl and remove any air bubbles. If the adhesive vinyl is being applied to a wall, it should be applied starting from the top and moving down in order to ensure a smooth application. If any issues occur during the application process, it may be necessary to remove the vinyl and start over.
How do you apply adhesive vinyl?
Here are some tips and tricks to help you apply adhesive vinyl correctly. First, measure your space and determine where you want to place your adhesive vinyl. Make sure you have a clean, dry surface before you apply the adhesive vinyl. Next, use a pencil and ruler to mark the location of the adhesive vinyl. If you are using multiple pieces of adhesive vinyl, make sure to align them properly.
Once you have marked the location, begin peeling the adhesive vinyl from the backing paper. Use a squeegee or credit card to press the vinyl onto the surface firmly. Finally, allow the adhesive vinyl to settle for at least 24 hours before using it. This will help ensure that the adhesive vinyl sticks securely and will not peel off easily. With these tips, you should be able to successfully apply adhesive vinyl to any surface. Enjoy creating unique and customized pieces!
How to load vinyl into a Cricut?
When applying adhesive to vinyl with a Cricut, the first step is to load the vinyl into the Cricut. To do this, you’ll need to open the lid of the Cricut and then place the vinyl onto the cutting mat. Make sure the vinyl is centered and pressed securely to the adhesive side of the cutting mat. Next, close the lid over the cutting mat and vinyl. Once the vinyl is loaded, the Cricut will be ready to cut out shapes and other designs.
Next, you’ll need to choose the design that you wish to cut out of the vinyl. This can be done by selecting a design from the Cricut library or creating your own custom design. When you are ready to cut the design, simply press the “Go” button and the Cricut will begin to cut out the desired vinyl. Once the design is cut out, carefully remove the cut vinyl from the cutting mat. Now it’s time to apply the adhesive. Use a brush or a sponge to apply the adhesive to the back of the vinyl. Make sure to cover the entire back of the vinyl and then let the adhesive dry. Finally, you can now apply the vinyl to the desired surface. Use a squeegee to press the vinyl onto the surface and to ensure that there are no air bubbles. Make sure to press firmly on the edges and corners of the vinyl to ensure a secure application. And that’s it! Your vinyl design is now applied and should look great.
How to use adhesive craft vinyl?
Whether you’re creating a sign, wall art, or any other type of project, adhesive craft vinyl can help you achieve a professional-looking result. Here’s how to apply adhesive craft vinyl:
- Start by cutting the adhesive craft vinyl to the size and shape you need for your project. Be sure to use a sharp pair of scissors for a clean cut.
- Once the adhesive craft vinyl is cut to size, peel away the backing paper.
- Place the adhesive craft vinyl in the desired area and press it in place. Make sure it’s firmly attached.
- Rub the adhesive craft vinyl with a hard, flat object to make sure it’s securely attached.
- Peel away the transfer paper from the adhesive craft vinyl. You may need to use tweezers to remove any tiny pieces. That’s all there is to it! With a few simple steps, you can give your projects a unique and professional touch with adhesive craft vinyl.
How to cut vinyl using Cricut Design Space?
If you want to cut vinyl using a Cricut Design Space machine, the first step is to apply the adhesive to the surface. You can use a strong adhesive like double-sided tape or adhesive spray for this. Make sure to cover the area with a thin, even layer of adhesive, as this will help the vinyl stick properly. Once the adhesive has been applied, you can then place the vinyl onto the surface. Align the vinyl so that it is centered, and press down to ensure that it is firmly attached.
Afterwards, you can then use the Cricut Design Space to cut out the design. Make sure to adjust the settings according to your chosen material to get the best results. Once the cutting is done, you can remove the material from the machine. Now you can separate the cutout vinyl from the excess material. Peel the vinyl away from the backing and then clean up the edges of the design with a pair of scissors. Finally, you can apply the vinyl to the surface. Carefully remove the adhesive backing from the cutout vinyl, and then press it onto the area you want. Gently rub the vinyl down to ensure that it is properly and firmly attached.
How to use adhesive vinyl with cricut
First, you will need to select the right adhesive vinyl for your project. Make sure the vinyl is compatible with your Cricut machine, and the adhesive side is facing up. Then you will need to prepare your Cricut machine. Make sure that your cutting mat is clean, and the blade is correctly inserted before you turn on the machine. Once your Cricut is ready, you can prepare your project.
Place the adhesive vinyl on your cutting mat, and then load it into the machine. Use the Cricut design software to create your custom design. When you are happy with your design, you can start cutting. After your design is finished, you can carefully remove the adhesive vinyl from the cutting mat. You can then apply the vinyl to your project and use a squeegee to apply pressure. This will ensure a secure and long-lasting hold.
Which side of adhesive vinyl goes down?
Applying adhesive vinyl can be a tricky process, and understanding which side of the vinyl should be placed down is essential to a successful application. Generally, the side of the adhesive vinyl which has a paper backing should be placed down on the surface where the vinyl will be applied. When you remove the paper backing, it will reveal the sticky side of the adhesive vinyl. To ensure the best possible results, you should make sure that this side is smooth and free of lint or dust before applying it to the surface. The best way to apply the adhesive vinyl is to start from one end and slowly press it down with a squeegee or another flat object.
This will ensure that the vinyl will adhere and that any air bubbles can be pushed away. After the adhesive vinyl is completely adhered, the paper backing can be peeled away and the adhesive vinyl can be enjoyed. It is important to remember that when applying adhesive vinyl, the side with the paper backing should be placed down on the surface. This is the most effective way of ensuring that the vinyl will stay in place, and that no air bubbles will be left behind. With a little bit of effort and patience, adhesive vinyl can be successfully and easily applied.
What setting do I use on my Cricut for adhesive vinyl?
To get the most out of your Cricut, you need to choose the right settings. For adhesive vinyl, you’ll want to use a “vinyl” or “permanent vinyl” setting. This will give you a thicker cut and help the vinyl adhere better to the surface. If your Cricut has a “pressure” setting, you should set it to “dark” or “cardstock” for the best adhesion. You’ll also want to make sure your blade is sharp and clean.
A dull blade can cause the vinyl to tear or stretch, which can also affect the adhesive. Finally, it’s important to use the correct mat for your project. For adhesive vinyl, you’ll want to use a standard grip mat. This type of mat is designed to hold the vinyl securely in place and allow the blade to cut through it properly. By following these steps, you’ll be able to get great results when applying adhesive vinyl with your Cricut.
How to apply adhesive vinyl
Applying adhesive vinyl requires careful preparation and the right tools. First, make sure the surface you are applying to is clean and free of any dust or debris. This will ensure the vinyl adheres properly. Next, cut your desired shape or design from the vinyl sheet. Use a sharp craft knife or a pair of scissors for precision cutting.
With the vinyl cut to the desired size, remove the backing from the vinyl sheet and place it adhesive side down onto the surface you are applying it to. Carefully smooth out any air bubbles and use a squeegee or something similar to ensure that the vinyl adheres securely to the surface. Finally, carefully remove the transfer tape and your vinyl will be securely adhered to the surface. Enjoy your newly personalized object!
How do you stick self adhesive vinyl?
Applying adhesive can be an important step in many projects, from creating wall decals to fixing broken furniture. To stick self adhesive vinyl, you will need a few items: scissors, a ruler, and a squeegee. Begin by measuring and cutting your vinyl to the desired size. Make sure you cut the vinyl slightly larger than the area you plan to cover. Peel the backing off the vinyl and carefully place it on the surface you are covering.
Once the vinyl is in place, use a squeegee to press the vinyl and remove any air bubbles. Be sure to go over the entire surface, making sure all of the vinyl is pressed down. Once the vinyl is firmly in place, you can trim away any excess vinyl with a sharp knife. Make sure you use a ruler to ensure that your lines are straight. Once the vinyl is trimmed, you will have a professional-looking result that is sure to last for many years. With just a few simple steps, you can easily apply self adhesive vinyl to any surface.
Do you need transfer tape for adhesive vinyl?
Applying adhesive vinyl can be a tricky project, but having the right tools can make the job easier. Transfer tape is one of the most important tools you will need if you want to apply adhesive vinyl. Transfer tape is a clear, adhesive film that is used to transfer adhesive vinyl from the paper backing to your surface. It allows you to position and adhere the vinyl to the surface and ensure that it is applied properly. Transfer tape is necessary because it helps you keep the adhesive vinyl in place as you transfer it to the surface.
Without it, the vinyl may shift or shift out of alignment while you are trying to apply it. To use transfer tape, you should place it over the top of the adhesive vinyl. Then, using a squeegee or a credit card, you can press the transfer tape down onto the adhesive vinyl. This helps the adhesive to bond with the surface. Transfer tape is an essential tool for applying adhesive vinyl. It helps you keep the vinyl in place as you move it to the surface, so you can make sure that the vinyl adheres properly. With transfer tape, you can ensure that your adhesive vinyl project is successful.
What do you put under peel and stick vinyl?
When applying adhesive to peel and stick vinyl, there are a few things you should consider. Firstly, you should ensure the surface you are applying the vinyl to is clean and free of dirt, dust, and other debris. This will ensure a strong bond between the vinyl and the surface. Secondly, you should apply the adhesive to both the back of the vinyl and to the surface you are sticking it to. This should be done in an even layer, ensuring that all parts of the vinyl are covered in adhesive.
Thirdly, once you have applied the adhesive, you should wait for it to become tacky. This allows the adhesive to form a strong bond and helps to ensure it will not come undone. Next, you should carefully align the vinyl with the surface and press it down. This will help spread the adhesive evenly, creating a strong bond between the two surfaces. Finally, once you have applied the vinyl, you should give it some time to set and harden. This allows the adhesive to fully cure, creating the strongest bond possible. Following these steps will ensure your peel and stick vinyl is securely attached.
What is the best adhesive to bond vinyl to vinyl?
When applying adhesive to bond vinyl to vinyl, it is important to choose the right product. The best adhesive for this job is a vinyl adhesive specifically designed for bonding two vinyl surfaces. This type of adhesive is designed to form a strong and durable bond between two vinyl surfaces, and can often be used to bond other materials as well. When using a vinyl adhesive, it is important to follow the instructions carefully. Make sure the surfaces to be bonded are clean and free from dirt and dust.
Apply the adhesive evenly to both surfaces, taking care not to oversaturate the material. Allow the adhesive to dry and cure for the recommended time period, as this will ensure that a strong bond is formed. Once the adhesive has cured, press the surfaces together firmly. Make sure you press down evenly to ensure a strong bond. Hold the surfaces together for a few moments to ensure that the bond is secure. By following these steps, you should be able to successfully bond two vinyl surfaces with a vinyl adhesive. With the right adhesive, you can create a strong and durable bond that will last for years.
How to apply adhesive vinyl on a curved surface?
Applying adhesive vinyl on a curved surface can be a tricky job, but it can be done with a little bit of patience and a few helpful tips. First, make sure the surface is clean and dry. Any dust or dirt can affect the adhesion of the vinyl and can cause it to peel off more easily. Next, use a heat gun or a hair dryer to heat the surface before you apply the adhesive vinyl. This will help the vinyl to be more malleable and easier to apply.
Now, cut the vinyl to the desired size and shape. You can use a craft knife and a ruler to make sure you have a clean edge. Finally, carefully peel back part of the backing paper and start to apply the vinyl in the center of the surface and slowly work your way out. Use a squeegee to help smooth out any air bubbles. By following these steps, you can apply adhesive vinyl on a curved surface with professional-looking results.
What type of self adhesive vinyl should I use?
When applying adhesive, it is important to consider the type of vinyl you use. Self-adhesive vinyl is an ideal choice for a wide range of applications. It can be used to create custom decals, wallpapers, stickers, and signs. The vinyl can be cut with a plotter or scissors and applied to a wide variety of surfaces. When choosing self-adhesive vinyl, you should consider the surface it will be applied to, as well as the intended use.
For example, if you are using the vinyl on a wall or other porous surface, you will need to use a cast or matted vinyl that is designed to adhere to such surfaces. If you are looking for a decal that is more durable and waterproof, then you may need to opt for a calendered vinyl. When applying self-adhesive vinyl, you should make sure you prepare the surface before applying the adhesive. This will ensure the vinyl is properly adhered and will last for a long time. Clean the surface with a mild detergent and then make sure the surface is completely dry before applying the adhesive. Be sure to use the correct adhesive for the type of vinyl you are using. In summary, when considering what type of self-adhesive vinyl to use for your project, you should consider the surface you will be applying it to, the intended use, and the type of adhesive that is best suited for the application. By taking the time to choose the right vinyl and adhesive, you will ensure that your project will look great and last for many years.